REVIEW · CAMBRIDGE
Cambridge Instagram Self-Guided Tour – Top Photo Spots
Book on Viator →Operated by Vidi Guides · Bookable on Viator
Cambridge is built for photo walks. This self-guided audio tour strings together some of the city’s most camera-friendly spots without forcing you into a rigid schedule. I like that it starts at King’s College and ends at Magdalene Bridge, so your route feels like a real stroll through the university core.
Two things I really appreciate: you get a GPS map that helps you find each stop, and you can listen in offline mode after downloading. The biggest consideration is also the most important: it’s audio-only and earphones aren’t included, so you need your own phone setup and sound plan before you start.
If you’re relying on the app instructions to work perfectly, be ready to troubleshoot. One past customer reported they never got a download link and found no in-person representative at the start point, so I’d treat this as fully self-managed from your side.
In This Review
- Key points worth knowing before you go
- Starting at King’s College, then walking to Magdalene Bridge
- Price and time: why this is good value at $6.84
- How offline audio and GPS keep you from getting stuck
- Stop 1: Saint Edward’s Passage for bookstores and narrow street vibes
- Stop 2: The Guildhall and the feel of civic Cambridge
- Stop 3: Christ’s College entrance views and an alumnus detail
- Stop 4: All Saints Cambridge and the Painted Church effect
- Stop 5: Jesus College grounds and chapel-focused attention
- Stop 6: Portugal Place for quick, street-level Instagram angles
- Stop 7: Magdalene College quayside and the story behind Cambridge’s name
- Ending at Magdalene Bridge: your last best shot
- Who this tour suits best (and who should rethink it)
- Booking checklist for a smoother experience
- Should you book this Cambridge Instagram Self-Guided Tour?
- FAQ
- How long is the Cambridge Instagram Self-Guided Tour?
- How much does the tour cost?
- Where does the tour start and end?
- Do I need Wi‑Fi during the tour?
- Is a live guide included?
- Are earphones included?
- What’s included in the experience?
- Can I cancel for a full refund?
- FAQ
- Is there a maximum group size?
- Is the tour near public transportation?
- Are service animals allowed?
- When is the tour available?
- Is it okay for most people to participate?
Key points worth knowing before you go
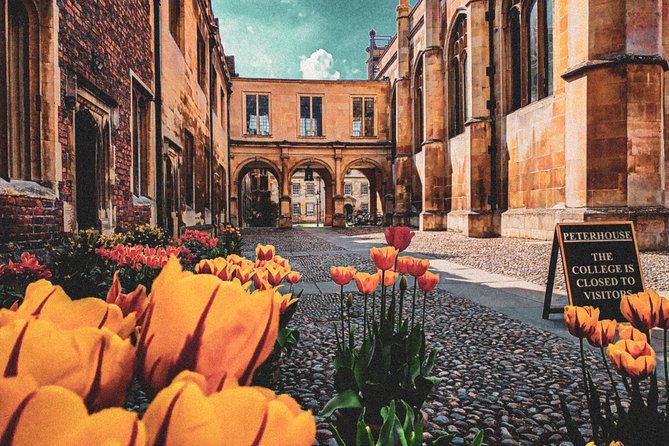
- Self-paced route with no fixed schedule, so you can pause for shots or linger a bit
- Offline mode: download in advance to listen without Wi‑Fi
- GPS map keeps you pointed at each location, reducing wrong turns
- Free-to-enter stops are part of the route highlights (as described for the listed locations)
- Short duration (about 45 to 59 minutes) works well if you want Cambridge photos without a big time commitment
Starting at King’s College, then walking to Magdalene Bridge
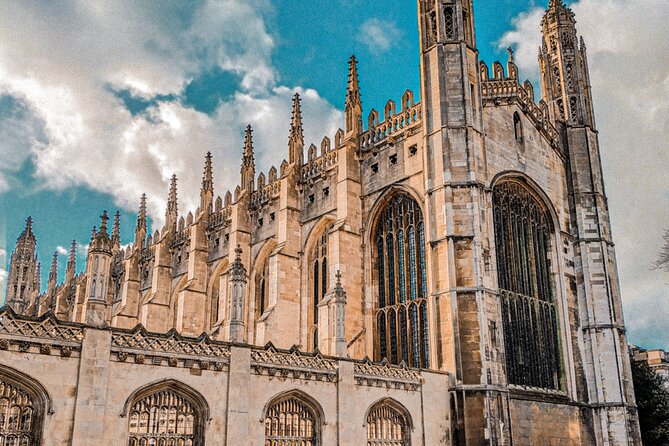
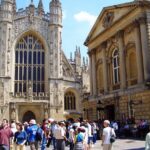
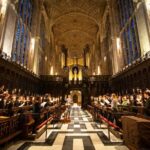
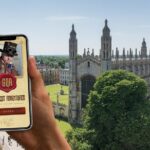
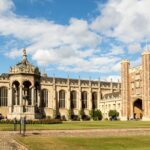
You begin at King’s College, on King’s Parade. It’s a great launch point because it instantly puts you in the Cambridge you’ve probably seen in photos: grand stonework, busy sidewalks, and that classic college atmosphere that makes even ordinary streets look cinematic.
The tour ends at Magdalene Bridge (Bridge St, Cambridge CB2 1UJ). That matters because it gives you a natural finish line near the river, where you can keep exploring without feeling like you’re traveling back against the flow.
One more practical note: even though the tour says it has a maximum group size of 10, this is still a self-guided audio experience. Think of it as an audio-led route you follow on your own time.
You can also read our reviews of more guided tours in Cambridge


Price and time: why this is good value at $6.84
At $6.84 per person, this is priced like a low-friction add-on to a Cambridge day. You’re not paying for a live guide or a long schedule—so the value is in saving your research time and having an audio “photo plan” ready.
The whole route is about 45 to 59 minutes. Each stop is roughly five minutes, which tells you the style: quick-look photo moments plus short context from the audio. If you want a slow, sit-and-read kind of college experience, you’ll likely spend extra time after the audio ends. The good news is you can start and stop whenever you like.
If your budget is tight or you already have other major sights queued up (museums, churches, a punting ticket), this is a smart way to add “Cambridge looks” without adding a big chunk of your day.
How offline audio and GPS keep you from getting stuck
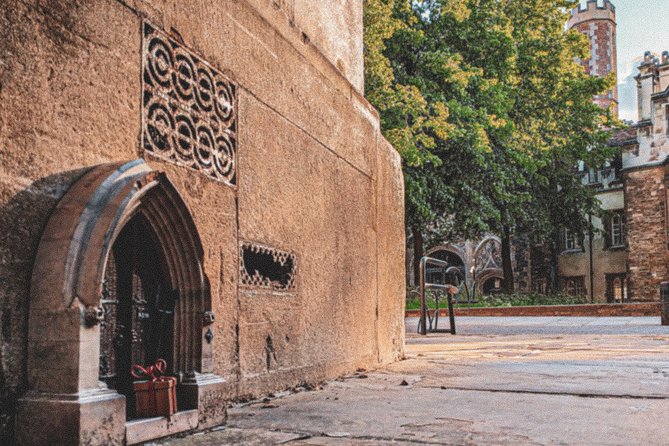
This tour includes the audio access, with offline mode and a location-aware GPS map. In plain terms: you download ahead, then the phone handles your direction between points.
Two practical things I’d set up before you leave:
- Bring fully charged battery. GPS and audio drain power.
- Have earphones ready. Earphones are not included.
The GPS part is especially helpful in Cambridge because the streets and college entrances can feel confusing even when you’re close. With location-aware guidance, you spend less time second-guessing and more time turning the camera toward the right angle.
Also, keep your expectations realistic. This is audio guidance, not a person steering you through. A previous customer reported trouble downloading the audio (they said they never received a link) and didn’t find an in-person representative at the meeting area. So treat the download as your responsibility: confirm you have the audio loaded before you arrive.
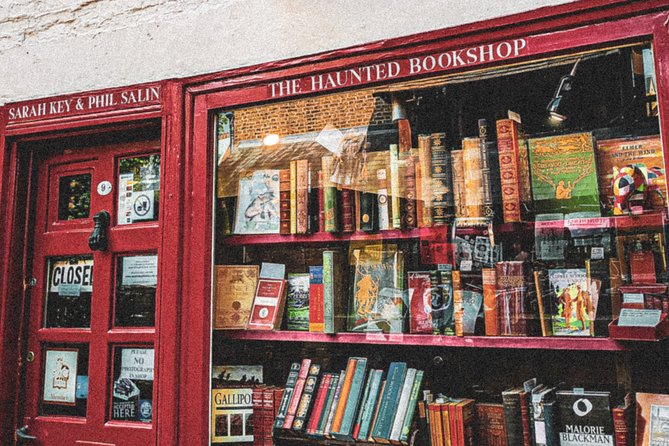
Stop 1: Saint Edward’s Passage for bookstores and narrow street vibes
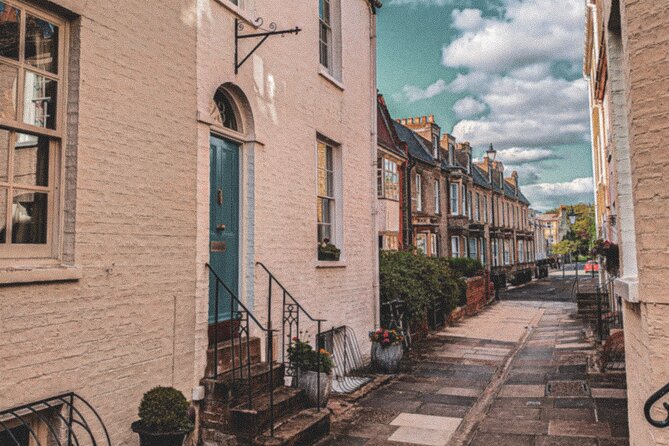
You kick off with Saint Edward’s Passage, described as bookstores and a narrow passage. This is the kind of Cambridge corner that photographs well because the buildings create tight lines and layered reflections. If you like images with texture—brick, stone, window frames—this stop is built for you.
What to do here:
- Walk slowly enough to catch angles between shopfronts and passage walls.
- Take one “close detail” shot and one wider shot. The narrow space usually looks better with both.
The downside: because it’s a passage, you don’t get much space to reposition. If you wait until the crowd grows, you may lose your clean, empty-looking frame.
Stop 2: The Guildhall and the feel of civic Cambridge
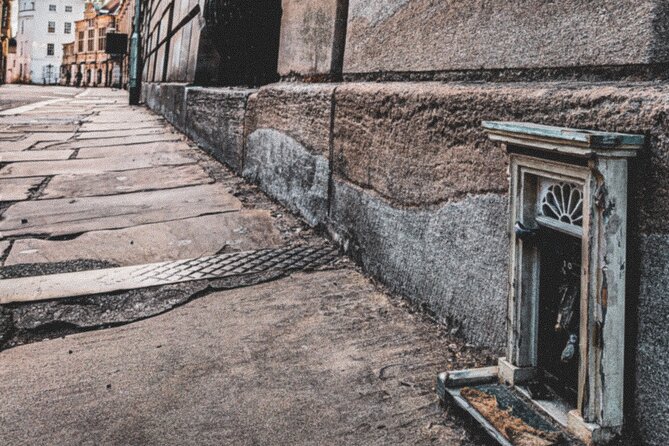
Next is The Guildhall, where the audio focuses on the seat of Cambridge’s City Council. This stop adds a different flavor than the university-only route: civic history and architecture, not just college gates.
For photos, aim for perspective. Guildhall buildings often reward you for standing a bit back and shooting upward, so you capture scale rather than only doors and signage.
The main consideration here is timing and foot traffic. If you hit it when pedestrians cluster near the entrance, you’ll need to wait a moment to get a clear shot.
You can also read our reviews of more tours and experiences in Cambridge
Stop 3: Christ’s College entrance views and an alumnus detail
Then you head to Christ’s College, with the audio calling out a marvellous entrance point and mentioning a famous alumnus. Even without knowing the exact name, the key idea is that the entrance is visually strong and the narration adds a human anchor—someone you can remember after you’ve left.
This is one of those stops where your camera will want a centered composition: symmetrical gates, strong doorways, and that “Cambridge storybook” feel.
Potential drawback: entrances can be busy. If you see people lining up for their shot, don’t charge in. Step aside and let the crowd move, then grab your angle.
Stop 4: All Saints Cambridge and the Painted Church effect
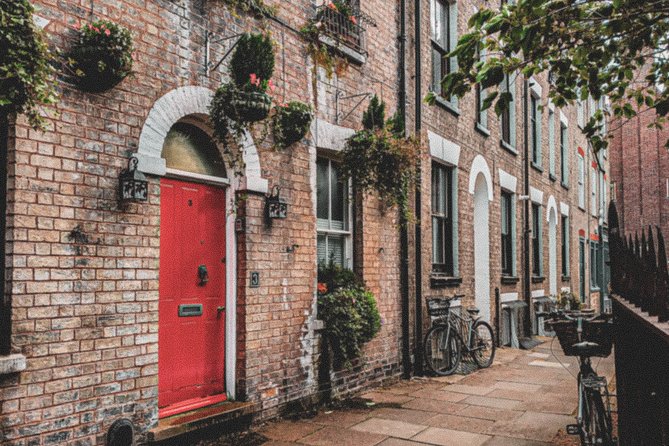
At All Saints’ Cambridge, the big focus is The Painted Church. The audio frames it as a place to wander and discover gems around a third-oldest Cambridge college.
This stop is valuable because it shifts you from outdoor geometry to interior interest. Painted details can look flat if you rush, so slow down your looking even if you don’t slow down the route.
If you’re photo-minded, think about light. You might not control lighting in a church, so work with what you get: steady shots, lower sensitivity if your phone allows it, and take one photo straight-on plus one at an angle to catch texture.
Stop 5: Jesus College grounds and chapel-focused attention
Next is Jesus College, where the audio highlights expansive grounds, a stunning chapel, and history. This is a strong stop for people who want more than “gate shot” photography.
Jesus College is also called out specifically as a stop that includes a major university building experience. That’s useful because it breaks up the route into multiple scales: narrow passages, civic streets, then expansive college grounds.
What to watch:
- If the chapel area has restrictions or crowds, focus on exterior perspectives and the approach path.
- If you can access interior viewpoints, take photos only where you’re allowed and be ready for lighting limitations.
A consideration: with the route’s overall timing, you might feel slightly “on the clock.” The cure is simple—if this is the place you care about most, spend a few extra minutes here after the audio segment ends.
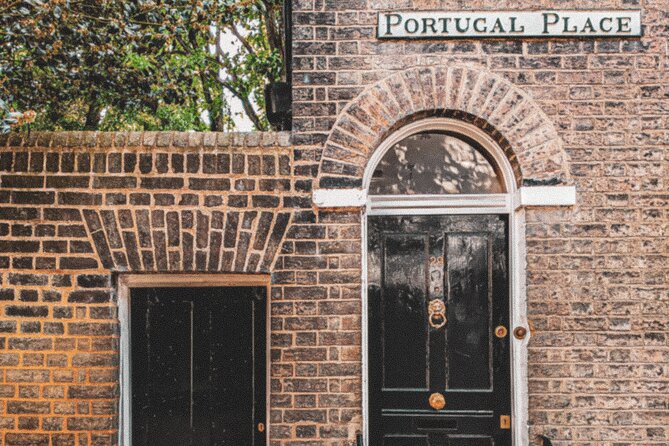
Stop 6: Portugal Place for quick, street-level Instagram angles
Then you move to Portugal Place, described as an Instagrammable neighbourhood. This is where the tour becomes less about big monuments and more about streets that photograph well.
In practice, street-level stops like this are about repetition and framing. Look for:
- a strong street corner,
- a door or window with character,
- a leading line that pulls the eye toward the background.
Because it’s a neighborhood stop, you can also personalize your photo. You might spend more time here than the planned short segment if you’re enjoying the vibe.
Stop 7: Magdalene College quayside and the story behind Cambridge’s name
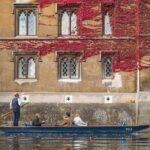
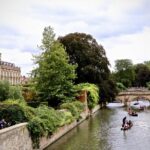
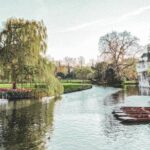
Next is Magdalene College, with guidance that leads you along the quayside and ties into the story behind Cambridge’s name. That’s a nice change of pace near the end of the walk, because water-adjacent locations tend to feel calmer and more scenic.
For photos, think about reflections and layers:
- A shot from the higher path often gives cleaner water lines.
- A shot closer to the quayside can capture motion blur in passing moments.
Don’t overthink it—just keep an eye out for bridges, railings, and building edges that frame the water.
Ending at Magdalene Bridge: your last best shot
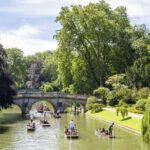
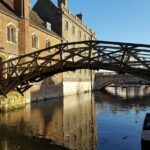
You finish at Magdalene Bridge, which is a great landing spot because it naturally encourages a final photo. Bridges provide instant composition: repeating rail patterns, the river as a background, and two directions of view.
After you finish, you’ll be in a good position to continue wandering on foot. You don’t end up stuck back where you started, and the route sets you up to explore at a relaxed pace.
If you’re running behind schedule, you can still make this ending worthwhile. Even one strong shot at the bridge is enough to make the route feel like a complete loop.
Who this tour suits best (and who should rethink it)
This Cambridge self-guided audio photo tour is a good match if:
- you want a photo-focused route with short explanations,
- you like controlling your own pace,
- you plan to walk and move between multiple university-facing spots.
It may not be the best choice if:
- you dislike tech setup on the fly and you’d rather have a live guide handling everything,
- you’re expecting someone to meet you at the start point,
- you want long inside visits at every location rather than quick photo stops.
It’s also worth noting that the route includes several University buildings (including Jesus College), so it works well as a “university core” experience.
Booking checklist for a smoother experience
Before you step into Cambridge, I recommend you prepare like this:
- Charge your phone and bring a power backup if you have one.
- Download the audio for offline mode ahead of time.
- Bring your own earphones since they’re not included.
- Have a quick look at the start location so you know what to look for at King’s College.
If you’ve been burned before by missing instructions, take extra care here. One customer said they didn’t know how to download the audio because they never received a link. Your best defense is to confirm access in advance, while you still have Wi‑Fi.
Should you book this Cambridge Instagram Self-Guided Tour?
I’d book it if you want an efficient, budget-friendly way to get Cambridge photos without doing hours of planning. The GPS map, offline audio, and college-and-street mix make it feel like a structured walk even though it’s self-paced.
I’d hesitate if you hate any uncertainty around downloading. Since this is audio self-guided (and not an in-person hosted tour), you’re responsible for your device setup. If you’re comfortable with that, this is a smart way to turn a short window in Cambridge into a set of genuinely good images.
FAQ
How long is the Cambridge Instagram Self-Guided Tour?
It takes about 45 to 59 minutes.
How much does the tour cost?
The price is $6.84 per person.
Where does the tour start and end?
It starts at King’s College, King’s Parade, Cambridge CB2 1ST and ends at Magdalene Bridge, Bridge St, Cambridge CB2 1UJ.
Do I need Wi‑Fi during the tour?
No. You can use offline mode by downloading the audio tour in advance.
Is a live guide included?
This is a self-guided audio tour, so you access the audio and follow the route yourself.
Are earphones included?
No. Earphones are not included, so bring your own.
What’s included in the experience?
You get access to the self-guided audio tour, audio provided by a local or historian, offline mode, a GPS map, and Instagram hotspot guidance.
Can I cancel for a full refund?
Yes. You can cancel up to 24 hours in advance for a full refund.
FAQ
Is there a maximum group size?
Yes. The tour lists a maximum of 10 travelers.
Is the tour near public transportation?
Yes, it’s listed as near public transportation.
Are service animals allowed?
Yes, service animals are allowed.
When is the tour available?
The listed opening hours are 12:00 AM to 11:30 PM, Monday through Sunday, for the date range shown.
Is it okay for most people to participate?
Yes. It says most travelers can participate.